Find the tight nails and cut them photo 4.
Use roofing nails to fasten shower wall flange to stud.
Check that you have all panels properly aligned and square and that you have the shower valve and shower head pipe properly aligned.
Some shower bases come with screws and brackets to attach the base to the wall studs.
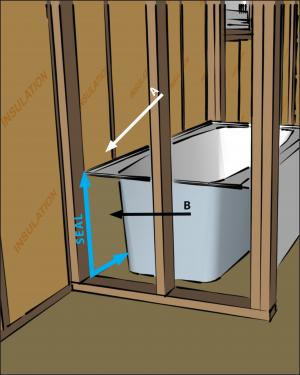
Sterling shower tub among others has a flange which is secured to the studs wall.
To attach the enclosure to the studs use a 3 8 inch bit to drill pilot holes through the flange.
Renail right next to the old nail leaving at least a 1 16 in.
Then go across the top at each of the studs.
Do this on the vertical side flange 8 inches on center.
Required tools for this project.
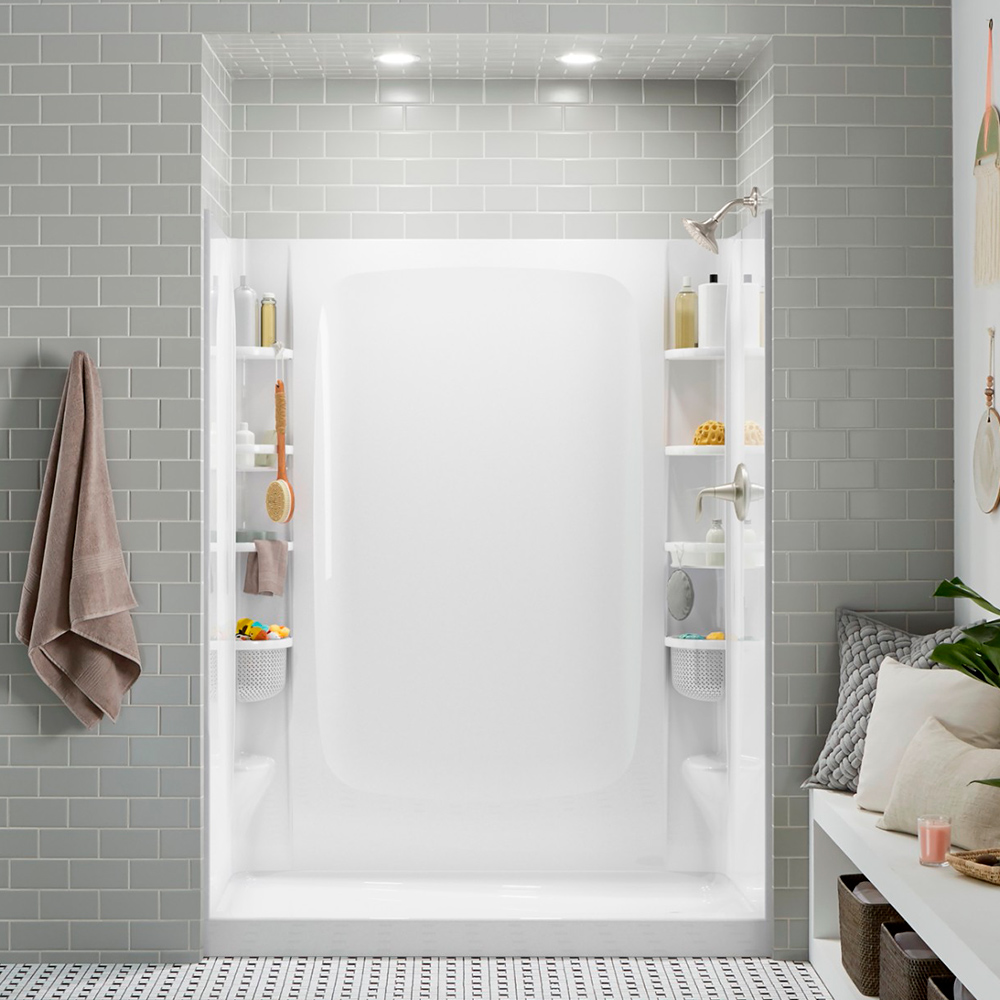
I m about to install this acrylic fiberglass shower base.
Level the panel and make sure it sits flush against the lip of the tub or shower pan.
Drill pilot holes in the panel flanges where they meet the studs and screw or nail the panel to the wall.
The instructions that came with the base say to lay down a bed of mortar and set the base on top of it with the flange right against the studs.
Fasten the enclosure at each stud with 1 inch self tapping washer head screws or galvanized roofing nails.
Roofing nails pr non tapered flat head screws may be used.
Position the panel against the side wall and lock it in place where it adjoins the back panel.
Using the correct size of roofing nail will ensure that your roof stays intact for many years to come and can help you avoid the common problem of roofing nails that extract themselves over time and cause you to lose shingles.
Gap between the nailhead and the vinyl to allow easy movement.
Otherwise you can use screws with large heads such as roofing nails to attach the flanges on the shower base to the wall studs.
Let the shower base sit overnight for the mortar to set up before stepping into the base any more.
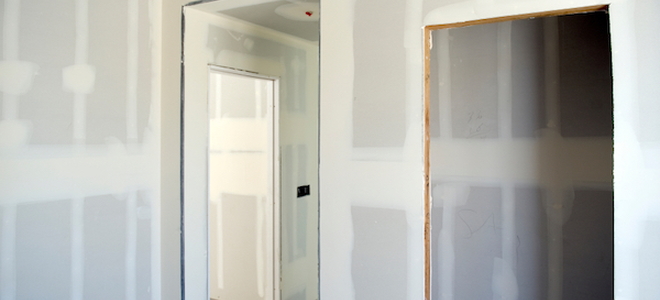
After you attach the flange directly to the studs you can can finish the walls next to the bathtub with drywall or tile.
Some kits have two side wall panels.
Fasten the panels to the wall framing with galvanized roofing nails.
Roofing nails have a lower profile thickness than the screw heads helping to minimize the impact to the drywall that will overlap the flange.
It s going on top of a wooden subfloor with 2x4 walls behind it then tile on the walls.
Wherever you find a gap between the wall stud and the shower wall panel insert a wood shim before driving the nail.
They don t say anything about screwing the flange to the studs but i ve seen it done.
Have the necessary tools for this diy project lined up before you start you ll save time and frustration.


/cdn.vox-cdn.com/uploads/chorus_image/image/65895817/toenailing_x.0.jpg)
